 IDA Pacific
Lister bandage scissors are one of the most used instruments in any clinic, yet they are often the least looked after. This guide focuses on what happens after purchase: how to use them safely, how to clean and reprocess them in humid Pacific conditions, how to store them, and how to tell when a pair should be retired. If you are still choosing stock, browse our surgical supplies range first, then come back to set up a care routine that makes every pair last.
The advice below is written for nurses, clinic managers, infection prevention leads and buyers in Vanuatu, Solomon Islands, Papua New Guinea, Fiji and the wider Pacific. It is general operational guidance. Always follow your national infection prevention policy and your facility’s own procedures where they differ.
What Makes Lister Bandage Scissors Different
The Lister pattern has an angled design with a blunt, flattened tip on the lower blade. That tip is meant to slide under a bandage, dressing or tape and lift it away from the skin while the upper blade cuts. The angle keeps the handles clear of the patient so the user can see what they are doing.
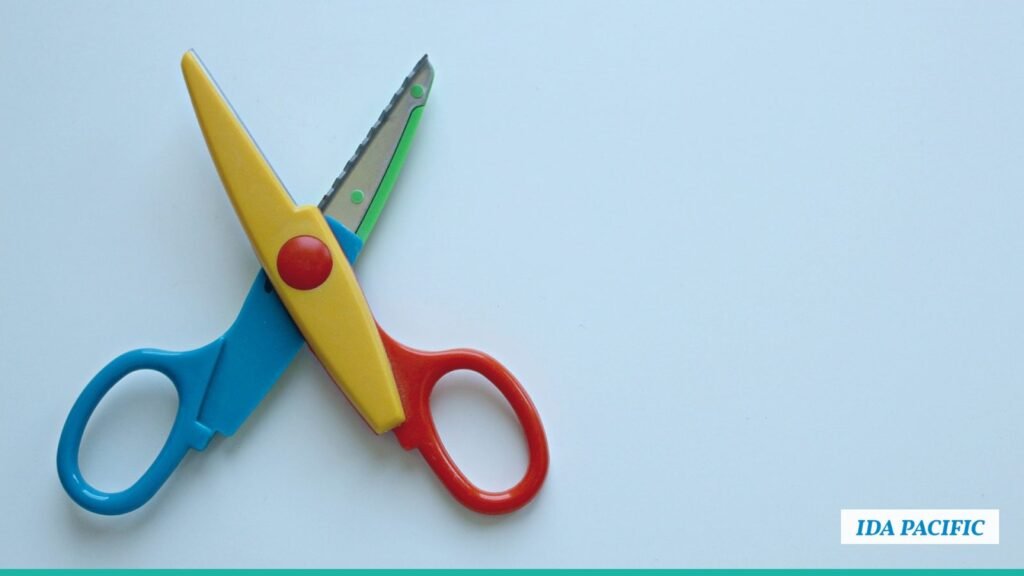
Because of that design, the lower tip takes most of the wear. It rubs against skin, dressings, adhesive and sometimes plaster. When the tip becomes burred, bent or rough, the scissors stop protecting the patient and start catching on tissue. Most of the care tips below are about protecting that tip and the cutting edges.
Common sizes and where they are used
- Smaller pairs (around 14 cm): dressing trolleys, paediatric areas, first aid kits and pocket carry.
- Mid-size pairs (around 18 cm): general wards, emergency rooms and outpatient dressing clinics.
- Larger pairs (around 20 cm and above): heavy bandaging, compression wraps and removing thicker dressings.
Matching size to task reduces strain on the joint and keeps the blades sharper for longer.
Tip 1: Use Lister Bandage Scissors Only for Their Job
The fastest way to ruin a good pair is to use it as a general-purpose tool. Lister bandage scissors are built for cotton, crepe and gauze bandages, light dressings and medical tape. They are not designed for cardboard, packaging straps, wire, plaster casts or tough synthetic materials.
Practical rules many clinics adopt:
- Keep a separate pair of general scissors at the nurses’ station and in the store room for opening cartons.
- Label clinical scissors clearly, for example with coloured instrument tape, so staff know they are patient-use only.
- Do not use bandage scissors to cut sutures or tissue. Those tasks need dedicated surgical scissors.
- For plaster cast removal, use the correct cast tools rather than forcing scissors through.
Tip 2: Cut Safely Around the Patient
Safe technique protects the patient and the instrument. Before cutting, explain to the patient what you are doing and position the limb so the dressing is accessible.
- Check the blunt tip is smooth and undamaged before use.
- Slide the blunt lower blade between the skin and the bandage, keeping it flat against the skin.
- Cut along the side of the limb, away from wounds, bony prominences and lines or drains.
- Lift the bandage slightly with the lower blade as you cut, rather than pressing down.
- Use steady, short cuts instead of forcing long strokes through thick layers.
If the scissors snag, chew or fold the material, stop. Forcing them can injure fragile skin, especially in older patients, newborns or people with oedema. Swap to a sharper pair and set the dull pair aside for inspection.
Tip 3: Bandage Scissors Cleaning Right After Use
Good bandage scissors cleaning starts at the point of use. Blood, wound exudate and adhesive dry quickly in warm conditions and become much harder to remove. Dried soil can also shield microorganisms from disinfection or sterilisation.

A simple point-of-use routine:
- Wipe off visible soil immediately with a damp gauze or wipe.
- Open the scissors so the joint is exposed.
- Keep instruments moist until cleaning, for example in a covered container with a damp cloth or an approved enzymatic pre-soak, as your policy allows.
- Transport used instruments in a closed, labelled container to the cleaning area.
Avoid leaving scissors soaking for hours in plain water or in strong chlorine solutions. Prolonged chlorine contact can pit and corrode stainless steel, particularly around the joint.
Manual cleaning steps
- Wear appropriate protective equipment, including gloves and eye protection.
- Rinse under cool running water to remove loose soil. Hot water can bind protein to the steel.
- Wash with a neutral or mildly alkaline instrument detergent, opening and closing the blades under the surface.
- Use a soft instrument brush on the joint, serrations (if any) and the blunt tip. Avoid steel wool or abrasive pads.
- Rinse thoroughly, ideally with treated or purified water to reduce mineral spotting.
- Dry fully with a lint-free cloth before the next step.
Where an ultrasonic cleaner is available, it is very effective for the joint area. Load scissors in the open position and do not mix stainless and other metals in the same cycle.
Tip 4: Reprocess According to Risk Level
How far you take reprocessing depends on how the scissors are used. Bandage scissors usually touch intact skin, which many infection prevention frameworks treat as a lower-risk use. However, if a pair is used near open wounds or in a sterile field, your facility may require sterilisation.
Typical approaches include:
- Intact skin only: thorough cleaning followed by low or intermediate-level disinfection, per local policy.
- Near open wounds or in procedure rooms: cleaning followed by steam sterilisation in pouches, with indicators.
- Isolation or outbreak settings: dedicated scissors per patient or single-use scissors.
The World Health Organization publishes guidance on decontamination and reprocessing of medical devices that many Pacific ministries draw on. Use it alongside your national guidelines when writing a local procedure.
Autoclave tips for stainless steel scissors
- Sterilise in the open or unlocked position so steam reaches the joint.
- Use pouches or wraps appropriate to your steriliser.
- Let the load dry completely before handling. Wet packs wick contamination and promote rust.
- Record cycle details and keep indicator results according to your sterile services log.
Tip 5: Lubricate and Inspect Your Lister Bandage Scissors
Lister bandage scissors have a single pivot joint that does most of the work. After cleaning and before sterilisation, a water-soluble instrument lubricant (often called instrument milk) helps keep the action smooth. Avoid household oils, which can block steam penetration and attract dust.
Each time scissors come back from cleaning, a quick inspection catches problems early:
- Tip: smooth, rounded and undamaged, with no burrs that could catch skin.
- Blades: no nicks, chips or visible gaps when closed.
- Cutting test: cleanly cuts a piece of test gauze or bandage along the full blade length.
- Joint: moves smoothly without grinding, looseness or stiffness.
- Surface: no rust, pitting, cracks or flaking.
Staining is sometimes a water quality issue rather than damage. Rust that does not wipe away, or pitting near the joint, usually means the pair should be withdrawn.
Tip 6: Store Them Properly in Humid Climates
Pacific humidity and salt air are hard on metal instruments. Even good-grade stainless steel can develop surface corrosion if it is stored damp or in contact with other metals for long periods.
- Store only fully dry instruments.
- Keep sterile packs in closed cupboards off the floor, away from windows, sinks and air-conditioner drip.
- Do not store scissors loose in drawers where blades knock against other tools.
- Use instrument racks, trays or blade guards for unwrapped pairs on dressing trolleys.
- Rotate stock so older sterile packs are used first, according to your shelf-life policy.
For remote health centres with limited air conditioning, sealed plastic containers with desiccant sachets can help protect spare clean instruments between visits.
Tip 7: Weigh Reusable vs Disposable Scissors
The question of reusable vs disposable scissors comes up often for clinics, NGOs and outreach programmes. Neither option is right everywhere. The choice depends on your reprocessing capacity, patient volume, infection risk and logistics.
| Factor | Reusable stainless steel | Single-use |
|---|---|---|
| Upfront cost per pair | Higher | Lower |
| Ongoing cost | Cleaning, lubricant, sterilisation, staff time, repairs | Repeat purchasing, freight and storage space |
| Reprocessing needed | Yes | No |
| Cutting performance | Generally firm and consistent if maintained | Adequate for light dressings; varies |
| Infection control | Depends on reliable reprocessing | No cross-use risk if discarded after one patient |
| Waste | Low | Higher; needs suitable disposal |
| Best fit | Hospitals, busy clinics with sterile services | Isolation areas, outreach, kits, sites without autoclaves |
Many facilities run a mixed model: reusable Lister bandage scissors on wards with sterile services, and single-use pairs in isolation rooms, mobile clinics and first aid kits where reprocessing is not realistic.
Cost factors to consider
- Number of dressing changes per day and per site.
- Availability and reliability of an autoclave and power supply.
- Staff time for cleaning and inspection.
- Shipping frequency and inter-island freight to outer islands.
- Waste disposal options, including incineration capacity.
- Expected loss rate, as small scissors often go missing.
Tip 8: Build Surgical Instrument Care Into Daily Routines
Good surgical instrument care rarely fails because of knowledge. It fails because nobody owns it. A short, written routine assigned to named roles works better than a long policy no one reads.
A simple ward or clinic routine could include:
- Start of shift: check the dressing trolley has enough clean scissors and that tips are intact.
- After each use: wipe, open and place in the used instrument container.
- End of shift: send used instruments for cleaning and record numbers out and in.
- Weekly: inspect, lubricate and withdraw damaged pairs.
- Monthly: review counts against stock levels and reorder if needed.
Counting instruments also helps reduce losses. Scissors are easy to pocket by accident and hard to trace once a dressing trolley is restocked.
Training points for new staff
- Why the blunt tip goes underneath and must stay smooth.
- Which scissors are for patients and which are for general use.
- How to report a dull or damaged pair.
- Where clean and used instruments are kept.
Tip 9: Know When to Replace Lister Bandage Scissors
Even with good care, Lister bandage scissors wear out. Some can be professionally sharpened or realigned, but in many Pacific settings specialist instrument repair is not readily available. Replacing a worn pair is often safer and more practical.
Withdraw a pair when you see:
- A bent, sharp or burred lower tip that could catch skin.
- Blades that fold or chew material instead of cutting cleanly.
- Cracks, deep pitting or rust that does not clean off.
- A loose or grinding joint that does not improve with lubrication.
- Blade misalignment visible when closed.
Mark withdrawn instruments clearly and remove them from circulation so they do not return to a trolley by mistake. Keep a small buffer of spare pairs so a single failure does not leave a ward short.
Planning Supply for Lister Bandage Scissors Across Sites
For health programmes running several sites, consistency helps. Using the same size and style of Lister bandage scissors across facilities makes training, inspection and reordering simpler. It also helps when staff move between islands or outreach teams.
When planning orders, consider:
- Par levels: how many pairs each trolley, ward and kit should hold.
- Spares: enough to cover pairs out for reprocessing, lost or withdrawn.
- Lead times: freight schedules to outer islands and remote provinces.
- Bundling: ordering scissors alongside dressings, bandages and tapes to reduce freight runs.
IDA Pacific has supplied the Pacific for 16 years and holds stock in its own Port Vila warehouse for short lead times. It supplies 13 countries, and its supply chain is certified for GMP, GDP and ISO 9001. You can read more about our quality standards or view the full product catalogue. Wholesale prices are shown only to approved trade customers.
Conclusion
Lister bandage scissors are simple instruments, but how you use, clean, store and replace them affects patient safety and running costs. Protect the blunt tip, clean promptly, reprocess to your risk level, store dry, and retire worn pairs without hesitation. A short routine with clear ownership makes all of this stick.
Ready to restock? Explore our surgical supplies and open a trade account to see wholesale pricing and order for your clinic, hospital or programme.
Frequently asked questions
Can Lister bandage scissors be autoclaved?
Stainless steel Lister bandage scissors are generally suitable for steam sterilisation, but always check the product information and your facility's sterile services policy. Clean and dry them first, sterilise in the open position so steam reaches the joint, and allow packs to dry fully before storage. Single-use scissors are not designed for reprocessing and should be discarded after use.
Why do bandage scissors have one blunt tip?
The blunt, flattened tip on the lower blade slides between the skin and the bandage. It lifts the material away from the patient while the upper blade cuts, reducing the risk of nicking skin. Because this tip touches the patient, it should be inspected regularly and any pair with a bent or burred tip withdrawn from use.
How often should bandage scissors be inspected?
A quick visual check before each use is good practice, focusing on the tip and blades. A fuller inspection, including a cutting test and joint check, is often done after each cleaning cycle or weekly, depending on usage. Your facility's instrument policy should set the exact schedule and who is responsible for it.
Are disposable bandage scissors good enough for clinics?
Single-use scissors are useful in isolation areas, outreach work, first aid kits and sites without reliable sterilisation. They usually handle light dressings and tape well. For high-volume wards with sterile services, reusable stainless steel pairs often give firmer, more consistent cutting. Many facilities use both, matching the type to each setting.
Can I use bandage scissors to cut packaging or casts?
No. Using clinical scissors on cardboard, straps, wire or plaster dulls the blades and damages the protective tip. Keep separate general-purpose scissors for packaging, and use proper cast removal tools for plaster. Reserve bandage scissors for bandages, dressings and medical tape so they stay safe and effective for patients.